Interior Walls
|
|

|
The Challange
Covering the Black Plastic Vapor Barrier
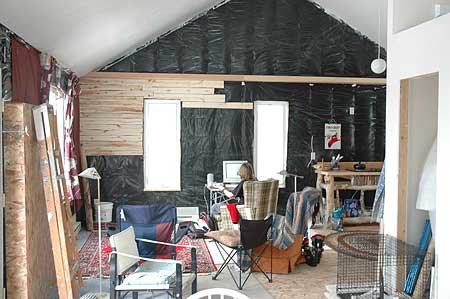
This picture shows the cabin as we knew it for a long time. It is a cozy construction site. You can see my trusty bandsaw (Delta 28-276) in the right foreground. In the background is the table I made to build the exterior railings. It has been shortened to fit inside. Tools and supplies are everywhere.
|
|
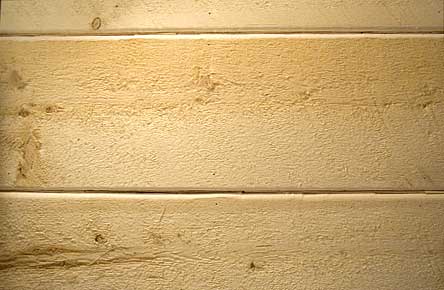
Plank Test
Hand-milled Aspen
Nailed onto the northwest wall are planks I made with the bandsaw. They looked good. But the prospect of milling enough planks seemed daunting. We considered other possibilities.
|
 |
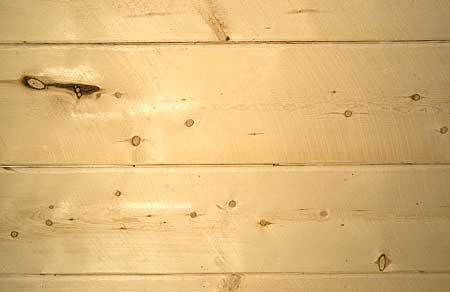
The Solution
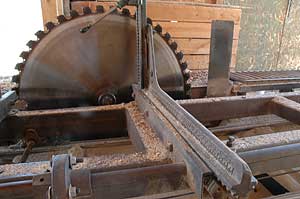
The Big Blade
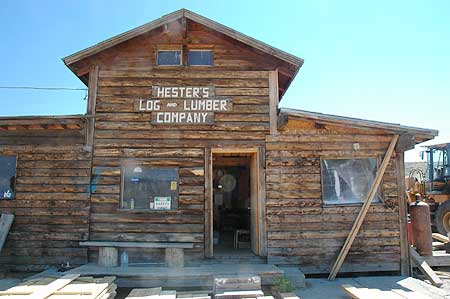
After some research I found Hester's Sawmill up in Kremmling. They used a very old saw to cut up trees into a variety of sizes of planks. I chose spruce planks that were 1" thick and 12" wide. This is wood that cannot be purchased at your local bigbox.
It is also the same material one finds on the walls of 120-year-old mining buildings in our cabin's neighborhood.
|
|
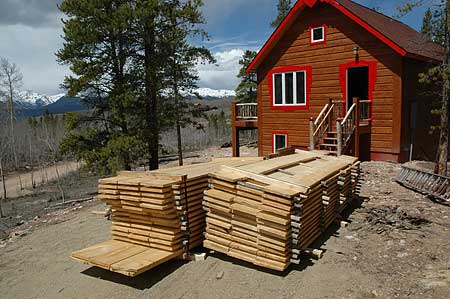
Delivery
One fine day in early May, with the peaks still deep in snow, the land was dry at 10,000 feet. A big truck dropped off my load of spruce boards. I popped the bands that held it all together and began carrying them inside. I wanted them away from the sun as well as the snow or rain that might come at any moment.
When I first saw the rough-cut boards and their very furry surface, I wondered if I had made a bad decision. But the liveliness and beauty of the boards also excited me.
|
|
Installing the Planks
My first weekend I worked with passion. It was such a thrill to see the black plastic being covered by the the radiant golden planks of spruce that I covered the northwest wall, the two walls of the kitchen (hidden past the closet door in this view), and much of the deck wall.
You can see the pile of boards lying along the middle of the room.
I used a pneumatic nailer. I was working by myself, so I made special jigs, nailed temporarily into studs, to hold up the far end of long boards. I used a variable-angle triangle from my graphic design tools to set the angle of the boards up in the pediment area.
|
|
Installing the Planks
I worked weekends through the spring and covered all the walls upstairs, the stairwell and the western bedroom.
Early in the process I experiemented with shaping the edge of the boards using a router. I settled on a 1/2" round edge. I did this to every single plank, creating a spectacular mess of router chips every day I worked. I had to buy a new shop vac with a 2" hose to handle all the wood debris.
|
|
Chinking
I had not planned to place chinking between the planks. That's why I had the builder use black plastic vapor barrier instead of the usual pink. But I failed my first building inspection on a couple of points and this was one of them.
So almost a year later I set about packing little strips of fir into the space between the planks. I cut hundreds of strips on the bandsaw, making them in super-thin, thin, and not-so-thin widths. I made some small wooden packing tools. Then I proceeded to place and hammer in the chinking. Though tedious to do, it does look good.
|
|
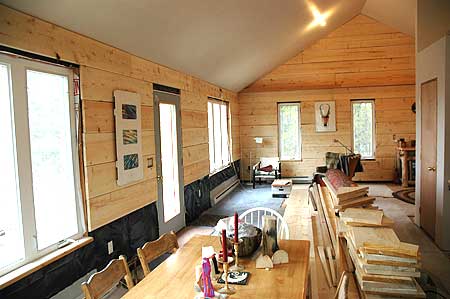
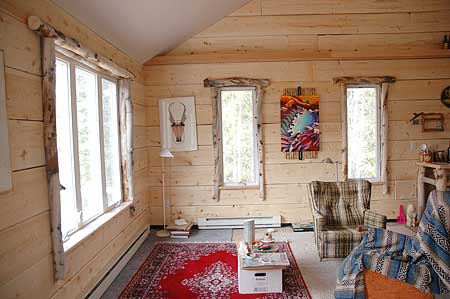
Done
The final effect of the big-plank walls is very warm and comforting. The 12" dimension resonates with the 12" milled fur planks that cover the outside.
The art on the walls:
"Prairie," a serigraph by John Boak, Serigraph, 1983, 30"x20", edition of 214.
"Beaver Brook," an oil painting by John Boak, 32"x 22", 1999.
|
